 Instead of just tapering the thermistor outside the heat block, I drilled a 1.2mm hole.
The hole is only 3 - 4mm deep.

Then top up with more sealant to fill the ends.
The sealant will react with the moister in the air and turn into a silicon rubber like material. After 24 hours it will be ready.
The thermistor is only a few mm in size with 2 uninsulated wires. These needs to be isolated before we seal it into the small hole. But first check that it is working by hooking up an ohm meter. Check that the resistance are changing when you move from cold to hot and vice versa.
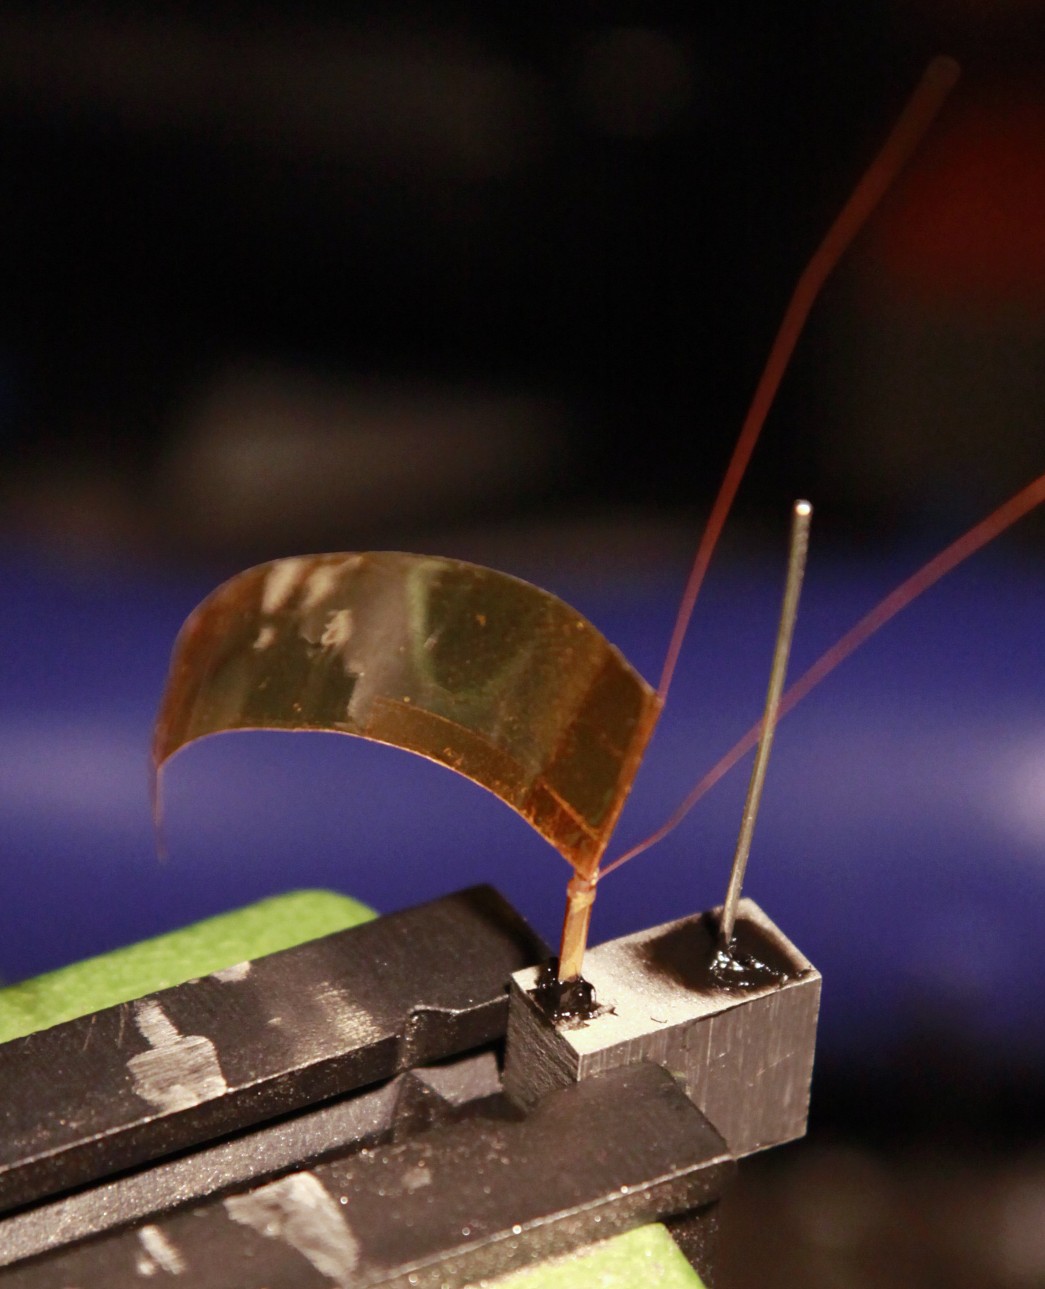

I wrapped a piece of 14mm Kapton tape around one of the naked wires and then together with the other wire.
Then wrap another Kapton piece around the same wire, overlapping the first one a bit. We need the wires to be insulated in different length so the crimp hats doesn't shortcut against each other.
Check the resistance again so it is not shorted (significant lower resistance, around 1 ohm or so). If it is to low you have shortened the two thermistor wires and need to start over again.
Then fill the hole with silicon sealant and push in the thermistor. Leave it to cook over the night.
 Meanwhile, I countersunk the extruder PTFE a little bit to guide the filament into the hole.
I did the same with the filament-guide so it would be easier to load the filament.
 I want to be able to change the extruder hotend in the future and need to be sure that it is not press fitted into the extruder base. I used various tools to open up the PTFE support and finally found out that if I used a drill as a milling machine it went al quick and smooth.
The hole is wide enough that I can press in the hotend PTFE with my hand and remove it again without tools.
I don't think there will be any problems if the hole gets a little bit too big. It will be hold in place with 2 studs later.
That was all for tonight folks....
Hello there Max!
ReplyDeleteI seem to have had the exact same package from mendel-parts and I'm about to start building the extruder...but what version of the extruder do we have here? I'd like to find myself some very detailed instructions if possible and I don't find the mon mendel-parts itself. I hope you can help me! :)
Hi HoMecoRe
ReplyDeleteI figured out that it was Adrian's geared extruder that was delivered. It seems like Mendel-part has improved it a bit with some extra support and heat insulation.
You have to remember that this isn't like buying a toy model where there is one solution. I used the e-drawings from mendel-part to figure out how to build this, but there are ppl with small modifications (like me).
I, for example, drilled a hole for the thermistor to get the heat from all directions. Other from that, I followed the e-drawings.